Oh, Red Velvet Cake! Just saying those words brings a smile to my face and a rush of sweet memories. There’s something so utterly enchanting about its vibrant, deep red layers peeking out from under that cloud of creamy, tangy frosting. It’s not just a dessert; it’s a showstopper, a celebration in every single slice. For me, this classic Red Velvet Cake isn’t just a recipe; it’s a family tradition, the star of every birthday, holiday, and “just because” gathering. My grandmother, bless her heart, always said a good Red Velvet Cake could fix just about anything, and honestly? She wasn’t wrong. I’ve spent years perfecting this recipe, tweaking and tasting until it became the moist, tender, utterly irresistible version I’m so excited to share with you today. Trust me, once you try this, you’ll understand why it’s become such a beloved favorite in my kitchen!
Why You’ll Love This Red Velvet Cake
Okay, so why *this* Red Velvet Cake? Because it’s everything you dream a Red Velvet Cake should be, and then some! It’s got that unbelievably moist, tender crumb that just melts in your mouth. The flavor is perfectly balanced – a hint of chocolate, a touch of tang, and that classic sweetness that makes you go, “Mmm!” Plus, it looks absolutely stunning, making it perfect for any celebration. Seriously, it’s pretty easy to whip up, but it always looks like you spent hours on it. It’s a classic for a reason, and this recipe absolutely nails it!
The Allure of Classic Red Velvet Cake
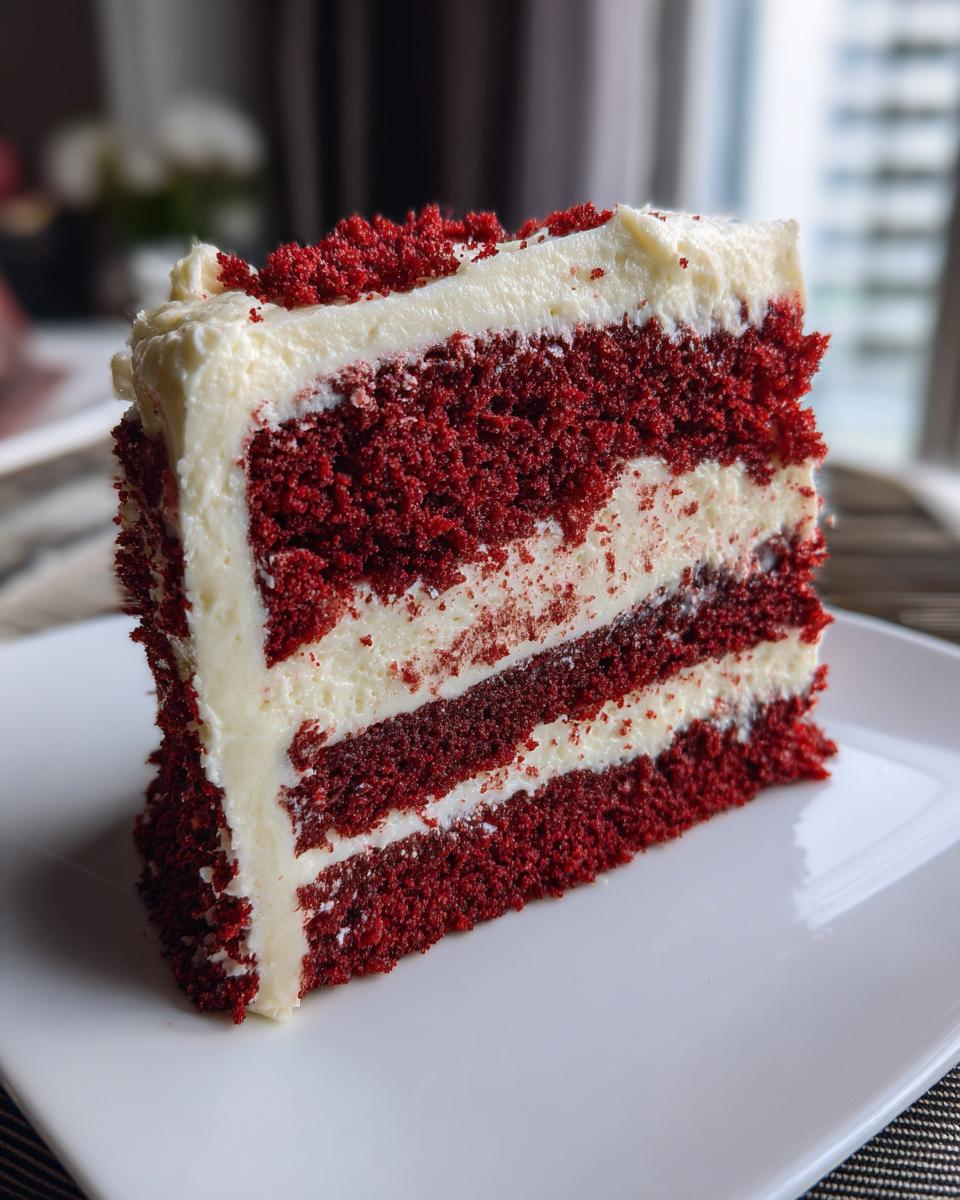
What makes this Red Velvet Cake so utterly captivating? It’s that tender, almost velvety crumb, which is just divine. Then there’s the rich, slightly tangy cream cheese frosting – honestly, it’s a match made in heaven! And let’s not forget that vibrant, show-stopping red color. It just screams “special occasion,” doesn’t it? Every bite is a little piece of pure joy!
Essential Ingredients for Your Red Velvet Cake
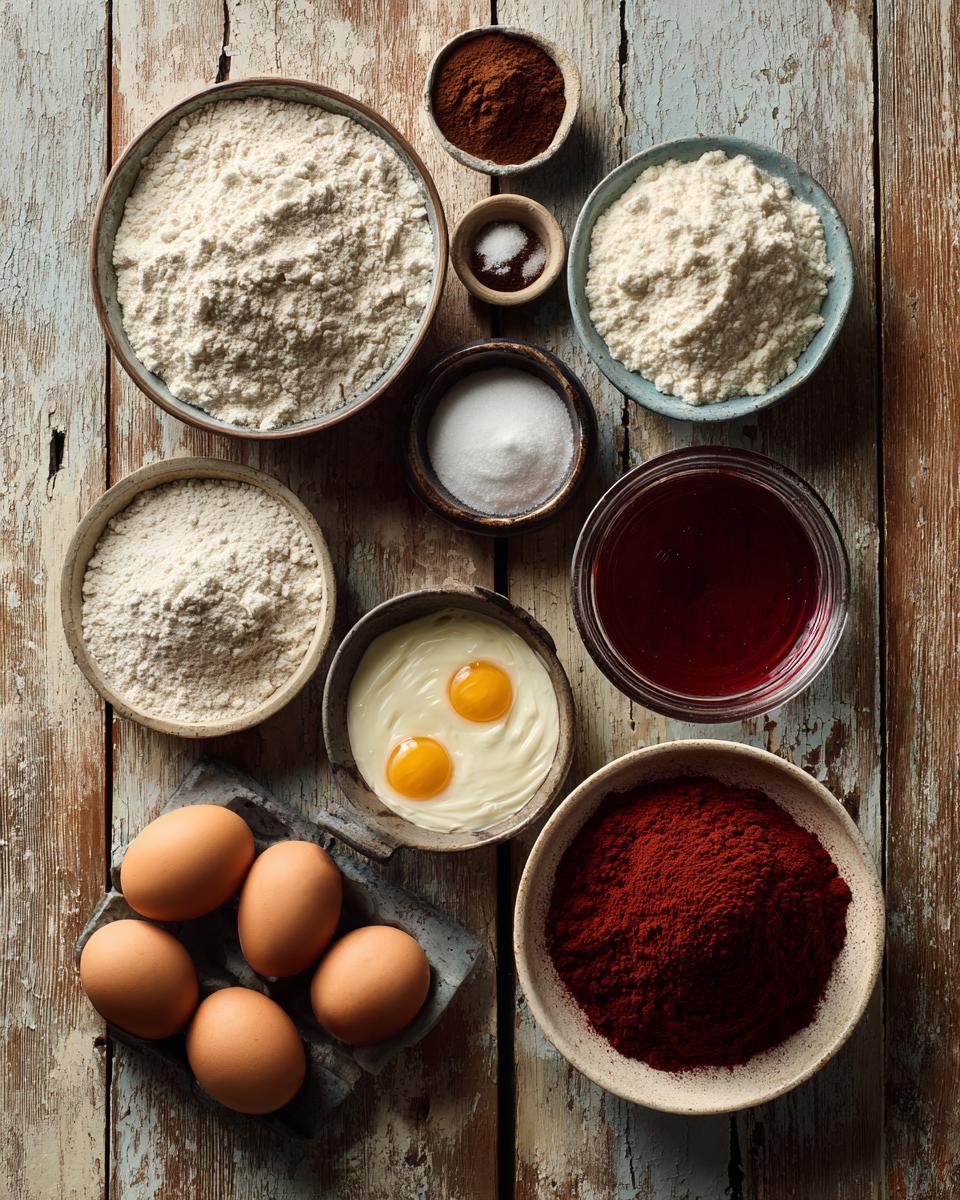
Alright, let’s talk ingredients! Because in baking, what you put in absolutely matters. For this Red Velvet Cake, we’re not just throwing things together; each ingredient plays a super important role in getting that perfect texture, flavor, and, of course, that gorgeous red hue. I’m going to walk you through exactly what you need and why it’s so crucial. Trust me, getting these right is half the battle won for the most delicious Red Velvet Cake you’ve ever had!
Wet Ingredients for a Moist Red Velvet Cake
For our wet ingredients, we’re aiming for ultimate moisture and richness. You’ll need 1 cup of buttermilk – this is key for that signature tang and tender crumb, so don’t skip it! Then, 1 cup of vegetable oil; it keeps the cake incredibly moist. We’re also using 2 large eggs, and please, have them at room temperature! It helps them emulsify better into the batter. Next up, 1 tablespoon of red food coloring – this is where the “red” in Red Velvet Cake comes from! Grab a good quality one for the best vibrancy. Finally, 1 teaspoon of white vinegar, which works with the baking soda for lift, and 1 teaspoon of alcohol-free vanilla extract for that lovely aromatic sweetness.
Dry Ingredients for a Balanced Red Velvet Cake
Now for the dry team, which builds the structure and adds subtle flavor. Grab 2 1/2 cups of all-purpose flour; make sure it’s measured correctly – spoon it into your measuring cup and level it off! You’ll also need 1 1/2 cups of granulated sugar for sweetness and moisture. For our leavening, we have 1 teaspoon of baking soda, which reacts with the buttermilk and vinegar to give us that perfect rise. And here’s a little secret for the Red Velvet Cake flavor: 1 teaspoon of cocoa powder. It’s not a chocolate cake, but this tiny bit of cocoa adds depth and enhances the red color. Last but not least, 1/2 teaspoon of salt – it balances all the flavors and makes everything pop!
How to Prepare Your Red Velvet Cake
Alright, you’ve got all your glorious ingredients ready to go, and now it’s time for the fun part: bringing this Red Velvet Cake to life! Don’t worry, I’m going to walk you through every single step, just like I’m right there in your kitchen. We’ll make sure it’s super clear, so you end up with two perfectly baked, vibrant red layers just begging for that luscious frosting. Pay attention to the little details, and you’ll be a Red Velvet Cake pro in no time!
Baking the Perfect Red Velvet Cake Layers
First things first, let’s get the oven ready! You’ll want to preheat your oven to a cozy 350°F (175°C). While that’s warming up, grab a big bowl and whisk together all your dry ingredients: the flour, sugar, baking soda, cocoa powder, and salt. Make sure there are no lumps and everything’s nicely combined. In a separate, medium bowl, whisk together your wet ingredients: the buttermilk, vegetable oil, eggs, red food coloring, vinegar, and vanilla extract. Give it a good whisk until it’s all one beautiful, vibrant red liquid. Now, for the magic! Pour those wet ingredients into your dry ingredients and mix them until they’re *just* combined. And I mean *just*! Don’t overmix, or you’ll end up with a tough cake, and nobody wants that. A few streaks of flour are totally fine; they’ll disappear in the oven. Divide that gorgeous batter evenly between your prepared cake pans. Bake them for about 25-30 minutes, or until a wooden skewer poked into the center comes out clean. Let them cool in the pans for 10 minutes – this is important! – before flipping them onto a wire rack to cool completely. Patience is key here; don’t even *think* about frosting warm cakes!
Preparing the Cake Pans for Red Velvet Cake
Before you do anything with that beautiful batter, let’s make sure your cakes don’t stick! Take your two 9-inch round cake pans and give them a good coating of grease – I usually use butter or a non-stick spray. Then, sprinkle a tablespoon or so of flour into each pan, tilting and tapping it around until the entire greased surface is lightly dusted. Tap out any excess flour. This creates a perfect non-stick barrier, so your Red Velvet Cake layers will slide right out!
Crafting the Cream Cheese Frosting for Red Velvet Cake
Okay, your cake layers are chilling out, and now it’s time for the crowning glory: the cream cheese frosting! In a large bowl, grab your softened cream cheese and softened butter. Beat them together with an electric mixer until they’re super smooth and creamy – no lumps allowed! This usually takes a couple of minutes. Next, gradually add in your powdered sugar, one cup at a time, beating well after each addition. The mixture will start to thicken and get wonderfully fluffy. Once all the sugar is in, stir in your alcohol-free vanilla extract. Give it one last good beat until it’s light, airy, and oh-so-fluffy. Taste it! It should be perfectly sweet with that lovely cream cheese tang. Once your Red Velvet Cake layers are *completely* cool (and I mean completely, or your frosting will melt!), you can frost them however you like – piled high in between the layers and all over the top and sides. Yum!
Tips for Red Velvet Cake Success
Alright, you’re almost a Red Velvet Cake master! But I’ve got a few extra tips and tricks up my sleeve to make sure your cake goes from great to absolutely phenomenal. These are the little things that can really make a difference, turning a good cake into one that gets rave reviews every single time. Avoiding just a couple of common pitfalls can elevate your baking game big time!
Achieving the Signature Red Velvet Cake Color
That iconic red color is what makes Red Velvet Cake so special, right? To get that deep, vibrant hue, I always recommend using a good quality gel food coloring. Liquid food coloring can sometimes dilute your batter and won’t give you that intense color we’re looking for. Don’t be shy with the coloring – that tablespoon really is key! You want it to look almost shockingly red in the bowl before it bakes.
Red Velvet Cake: Frequently Asked Questions
Got questions about your Red Velvet Cake? Don’t worry, you’re not alone! I get asked these all the time, and I’m happy to share my go-to answers. Baking can be full of little mysteries, but with a few pointers, you’ll be knocking out perfect Red Velvet cakes every single time. Let’s tackle some of the most common head-scratchers!
Can I make Red Velvet Cake ahead of time?
Absolutely, you clever baker, you! You can bake your Red Velvet Cake layers a day or two in advance. Just make sure they’re completely cooled, then wrap them tightly in plastic wrap and store them at room temperature. The cream cheese frosting can also be made a day ahead and kept in the fridge, then just give it a quick whip before frosting your cake!
Why is my Red Velvet Cake dry?
Oh, the dreaded dry cake! Usually, a dry Red Velvet Cake comes from overmixing the batter (which develops too much gluten) or overbaking. Remember, we only mix until *just* combined for the batter. And keep a close eye on your oven; once that skewer comes out clean, take those beautiful layers out! Every oven is a little different, so trust your eyes and that skewer test.
Storing Your Red Velvet Cake
Okay, so you’ve baked it, you’ve frosted it, and maybe you’ve even eaten a slice (or two!). Now, how do you keep that gorgeous Red Velvet Cake fresh? If you’re planning to enjoy it within a day or two, you can actually keep it at room temperature, covered loosely with plastic wrap or under a cake dome. The high sugar content in the frosting acts as a natural preservative, which is pretty neat! But, if you want it to last longer, or if your kitchen is particularly warm, pop it in the fridge. Just make sure it’s in an airtight container to keep it from drying out. It’ll stay delicious for up to 5 days in there!
Estimated Nutritional Information for Red Velvet Cake
Just a quick note on the numbers! I know some of you like to keep an eye on the nutritional info, so here’s an estimate for a single slice of this Red Velvet Cake: about 450 calories, 25g of fat (15g saturated), 50g of carbs (45g sugar), 5g of protein, 250mg of sodium, and 70mg of cholesterol, with 1g of fiber. Remember, these are just estimates! They can totally vary depending on the exact brands of ingredients you use and how big your slice is. Happy baking and happy eating!
Share Your Red Velvet Cake Creations!
Oh, I can’t wait to see your gorgeous Red Velvet Cake creations! Seriously, my favorite part of sharing these recipes is seeing what you all come up with. Did you add sprinkles? A fancy piping design? Please, please, please leave a comment below and tell me how it went! Even better, snap a pic and share it on Instagram or Facebook. Tag me! I absolutely love seeing your baking adventures. Let’s build a little community of Red Velvet Cake lovers!
PrintClassic Red Velvet Cake
This recipe makes a classic red velvet cake, perfect for any celebration. It features a moist, tender crumb and a rich cream cheese frosting.
- Prep Time: 30 minutes
- Cook Time: 30 minutes
- Total Time: 1 hour 30 minutes
- Yield: 12 servings 1x
- Category: Dessert
- Method: Baking
- Cuisine: American
- Diet: Vegetarian
Ingredients
- 2 1/2 cups all-purpose flour
- 1 1/2 cups granulated sugar
- 1 teaspoon baking soda
- 1 teaspoon cocoa powder
- 1/2 teaspoon salt
- 1 cup buttermilk
- 1 cup vegetable oil
- 2 large eggs
- 1 tablespoon red food coloring
- 1 teaspoon white vinegar
- 1 teaspoon vanilla extract
- 8 ounces cream cheese, softened
- 1/2 cup unsalted butter, softened
- 4 cups powdered sugar
- 1 teaspoon vanilla extract
Instructions
- Preheat oven to 350°F (175°C). Grease and flour two 9-inch round cake pans.
- In a large bowl, whisk together the flour, sugar, baking soda, cocoa powder, and salt.
- In a separate medium bowl, whisk together the buttermilk, vegetable oil, eggs, red food coloring, vinegar, and vanilla extract.
- Pour the wet ingredients into the dry ingredients and mix until just combined. Do not overmix.
- Divide the batter evenly between the prepared cake pans.
- Bake for 25-30 minutes, or until a wooden skewer inserted into the center comes out clean.
- Let the cakes cool in the pans for 10 minutes before inverting them onto a wire rack to cool completely.
- For the frosting, in a large bowl, beat the cream cheese and butter until smooth and creamy.
- Gradually add the powdered sugar, beating until light and fluffy.
- Stir in the vanilla extract.
- Once the cakes are completely cool, frost as desired.
Notes
- For best results, use room temperature ingredients for both the cake and the frosting.
- Do not open the oven door frequently while the cake is baking, as this can cause it to sink.
- Store leftover cake in an airtight container at room temperature for up to 3 days, or in the refrigerator for up to 5 days.
Nutrition
- Serving Size: 1 slice
- Calories: 450
- Sugar: 45g
- Sodium: 250mg
- Fat: 25g
- Saturated Fat: 15g
- Unsaturated Fat: 10g
- Trans Fat: 0g
- Carbohydrates: 50g
- Fiber: 1g
- Protein: 5g
- Cholesterol: 70mg


